Line Renderer 2D Pro
A 2D pixel-perfect line strip renderer for Unity
Get it!X: @JailbrokenGame · Discord · Email: SiliconHeartStudio@gmail.com
 Pixel-perfect lines with any thickness.
 Line drawing computed in the GPU.
 Multi-color lines and visual effects.
Making pixel-art games? This is for you!
Draw pixel-perfect 2D lines in the scene with any thickness and use them as if they were sprites or UI elements. Lines are affected by layers, transformations, masking, 2D lights, sorting layers and post-processing FXs. Add as many points as you need to create line strips and represent your ropes or cables, and update them every frame. Add any of the visual effects available out of the box like dotted lines, textured lines, gradients, and more.
Compatibility: Windows and Mac, all versions of Unity since 2022.3 LTS. Depends on the 2D Renderer (URP). Works with DX11, DX12, OpenGL and Metal.

Features
Fully integrated in the 2D URP scene, like a sprite

Affected by 2D lights (can ignore lighting too).

Each line renderer belongs to a sorting layer.
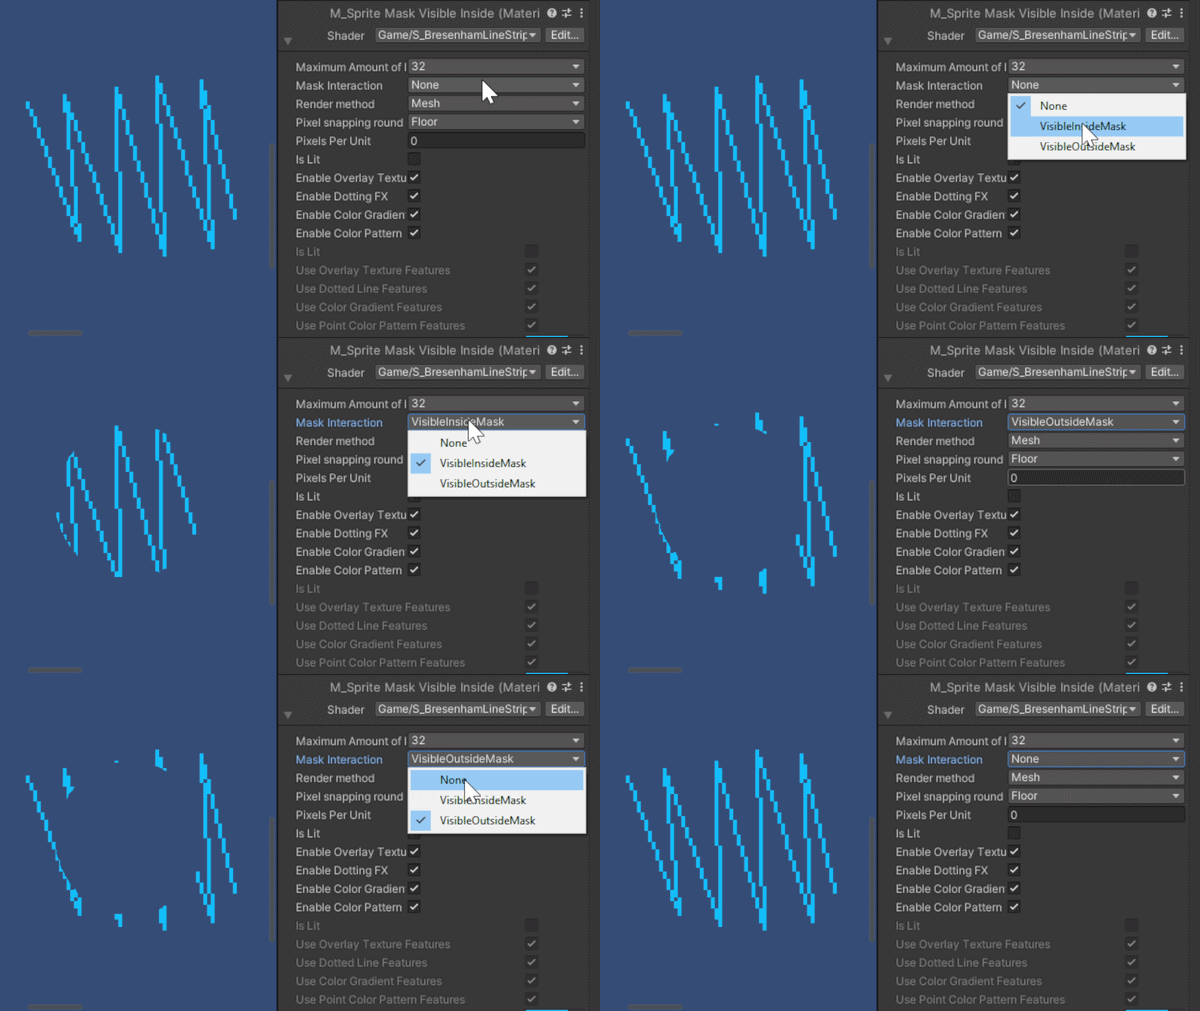
Supports masking.
Fully integrated in a Canvas, like a UI element
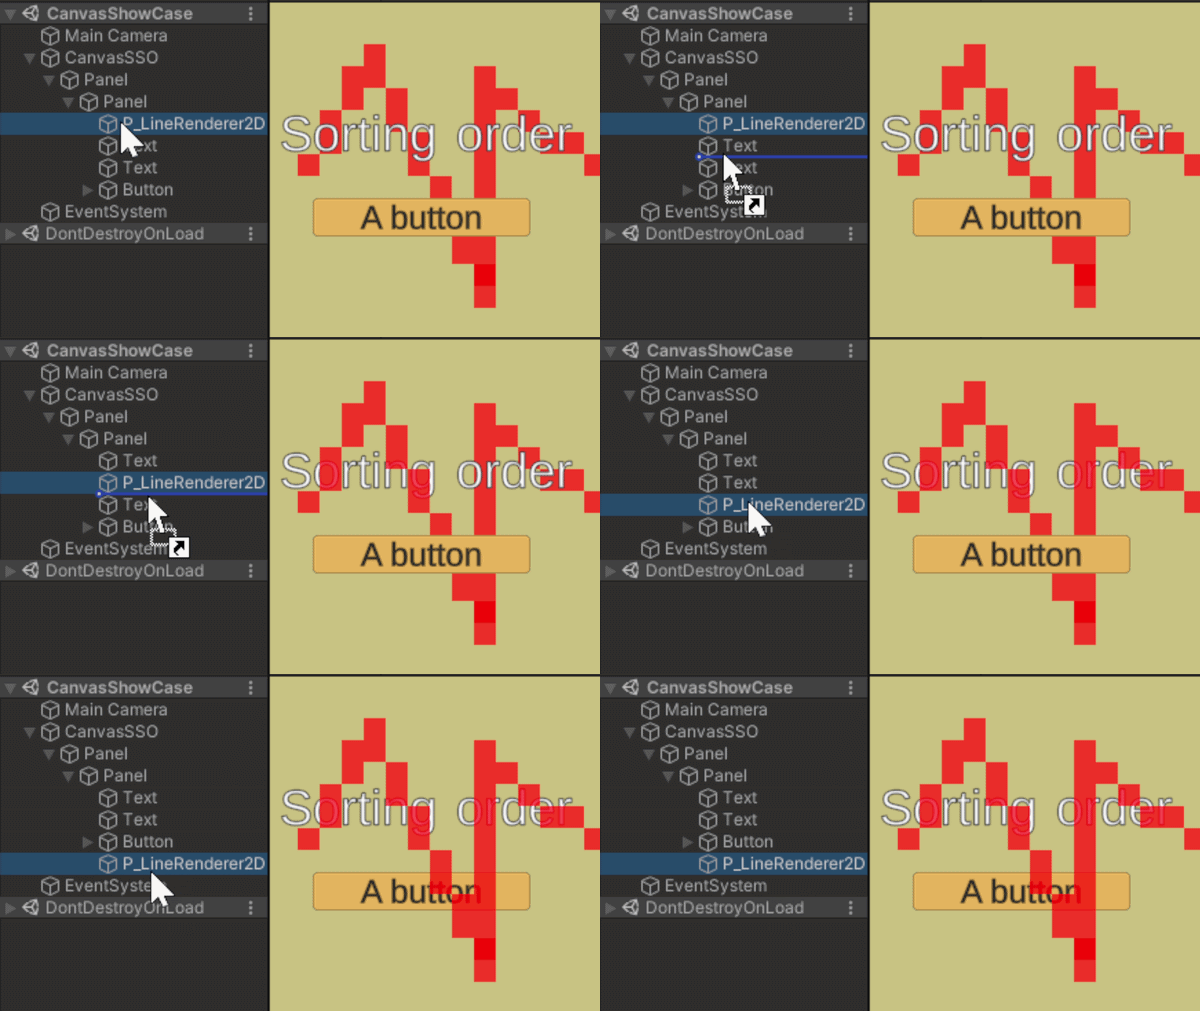
Supports all canvas render modes: Screen-Space Overlay, Screen-Space Camera and World Space. Respects drawing order (based on hierarchy).
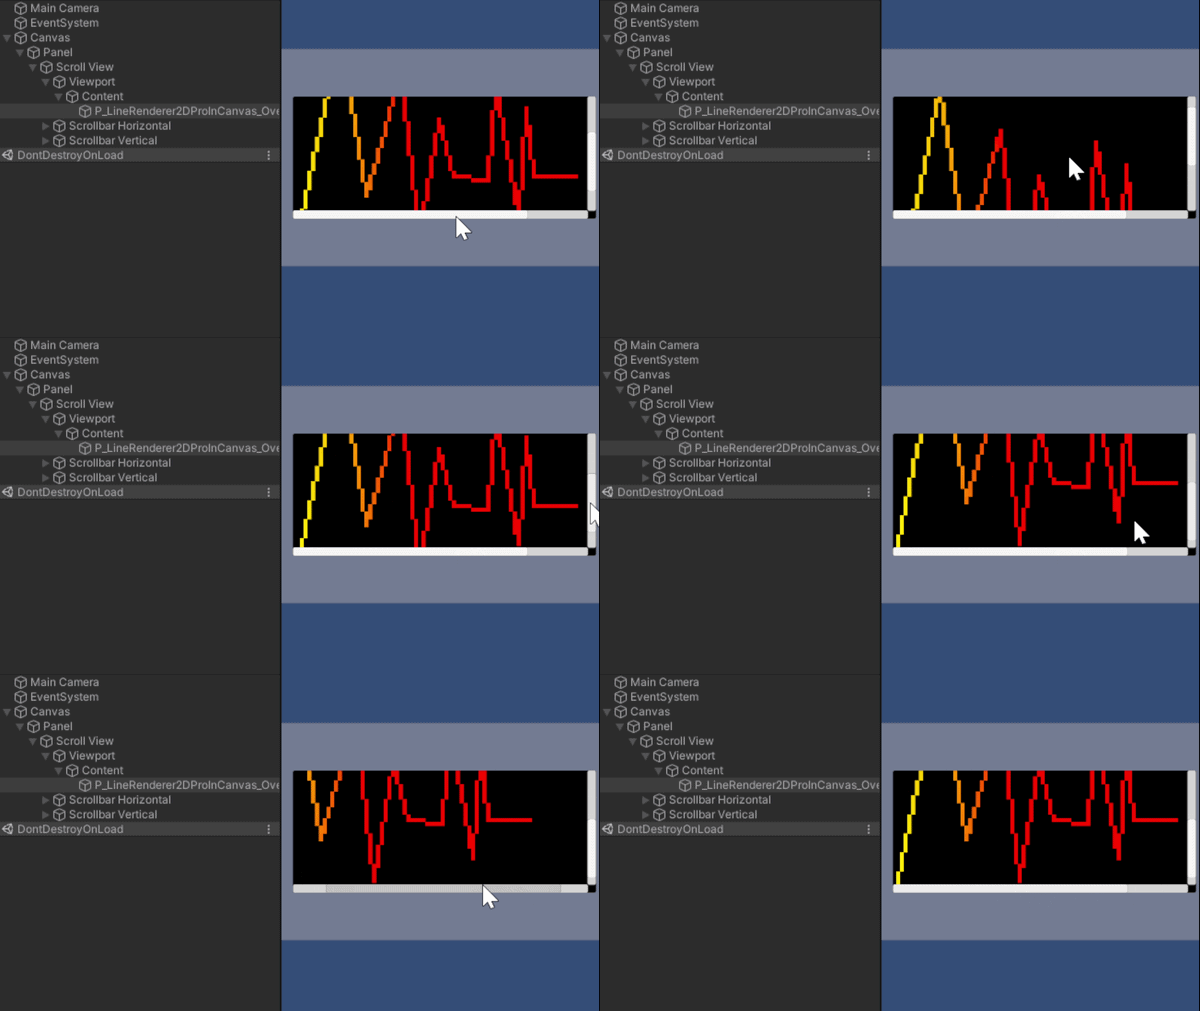
Supports masking.
WYSIWYG: Lines look the same in both Scene view and Game view

You can add, remove or move points of the line strip in the scene view, and see a preview of it, including its visual effects.
Editing mode like built-in Line
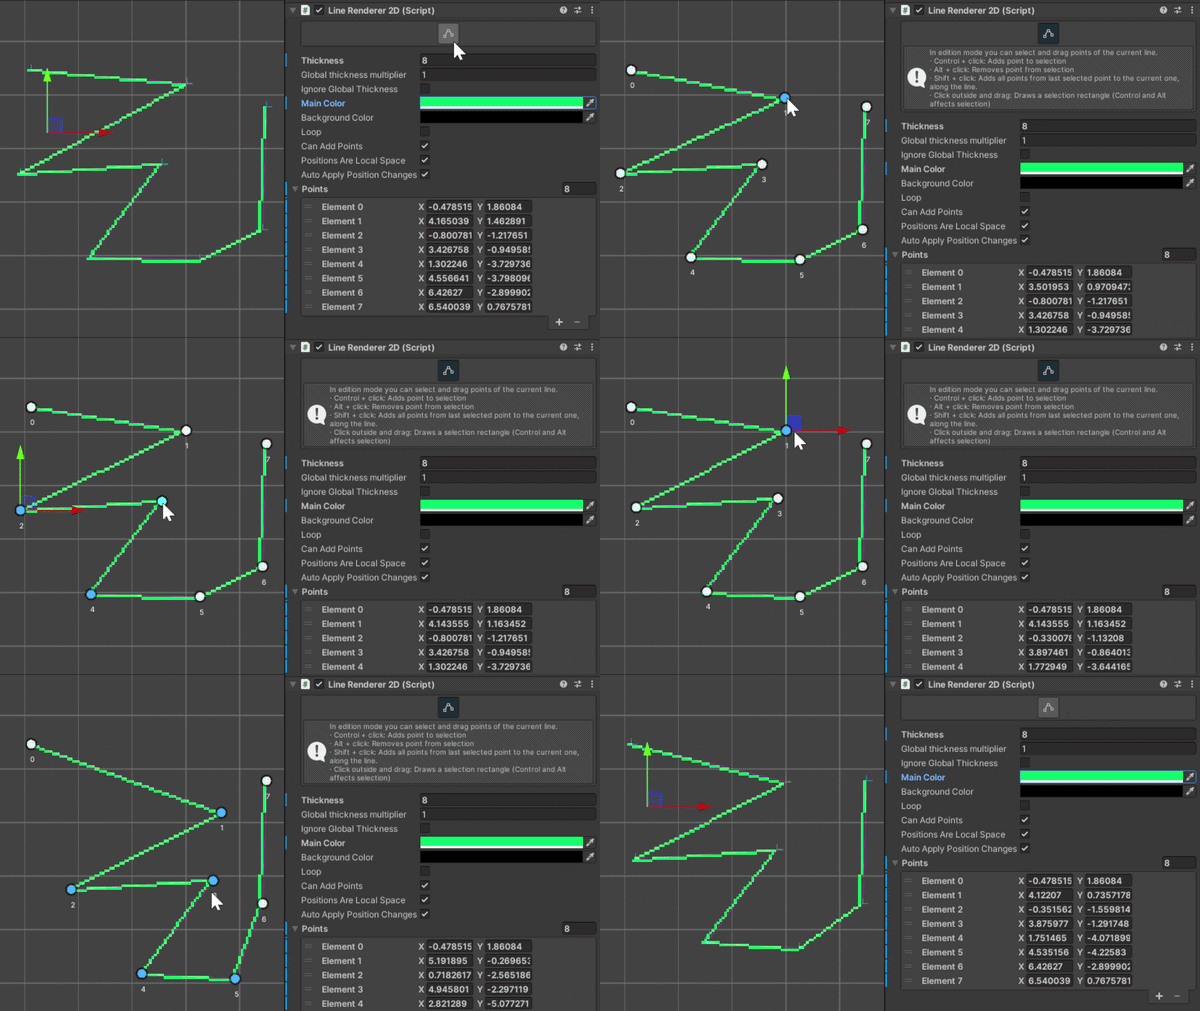
Once you enable the editing mode, handles will appear in the scene view. Multiple points can be selected and moved together.
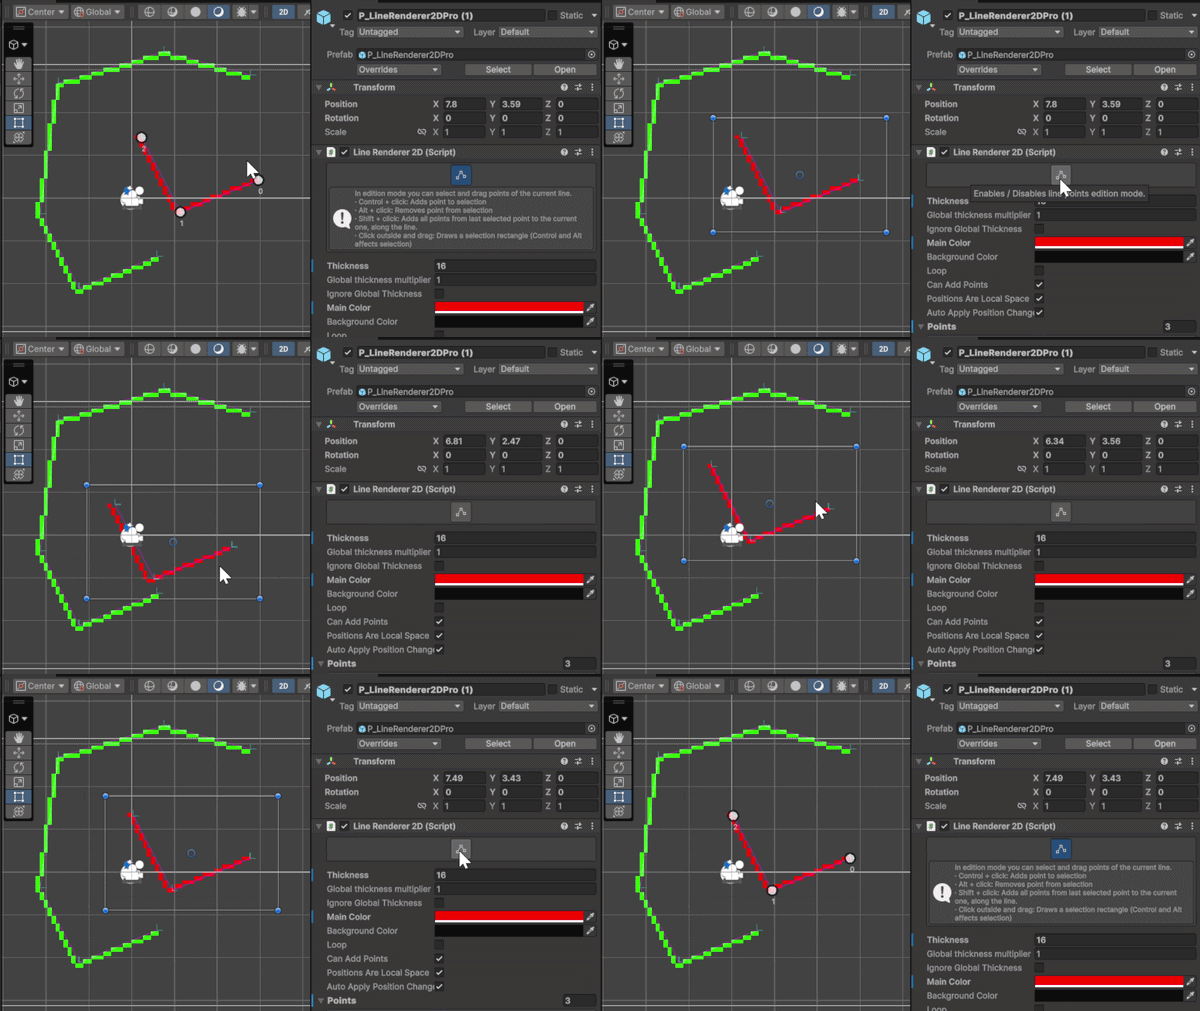
While not in edition mode, lines behave as selectable / movable rectangles.
Transformations
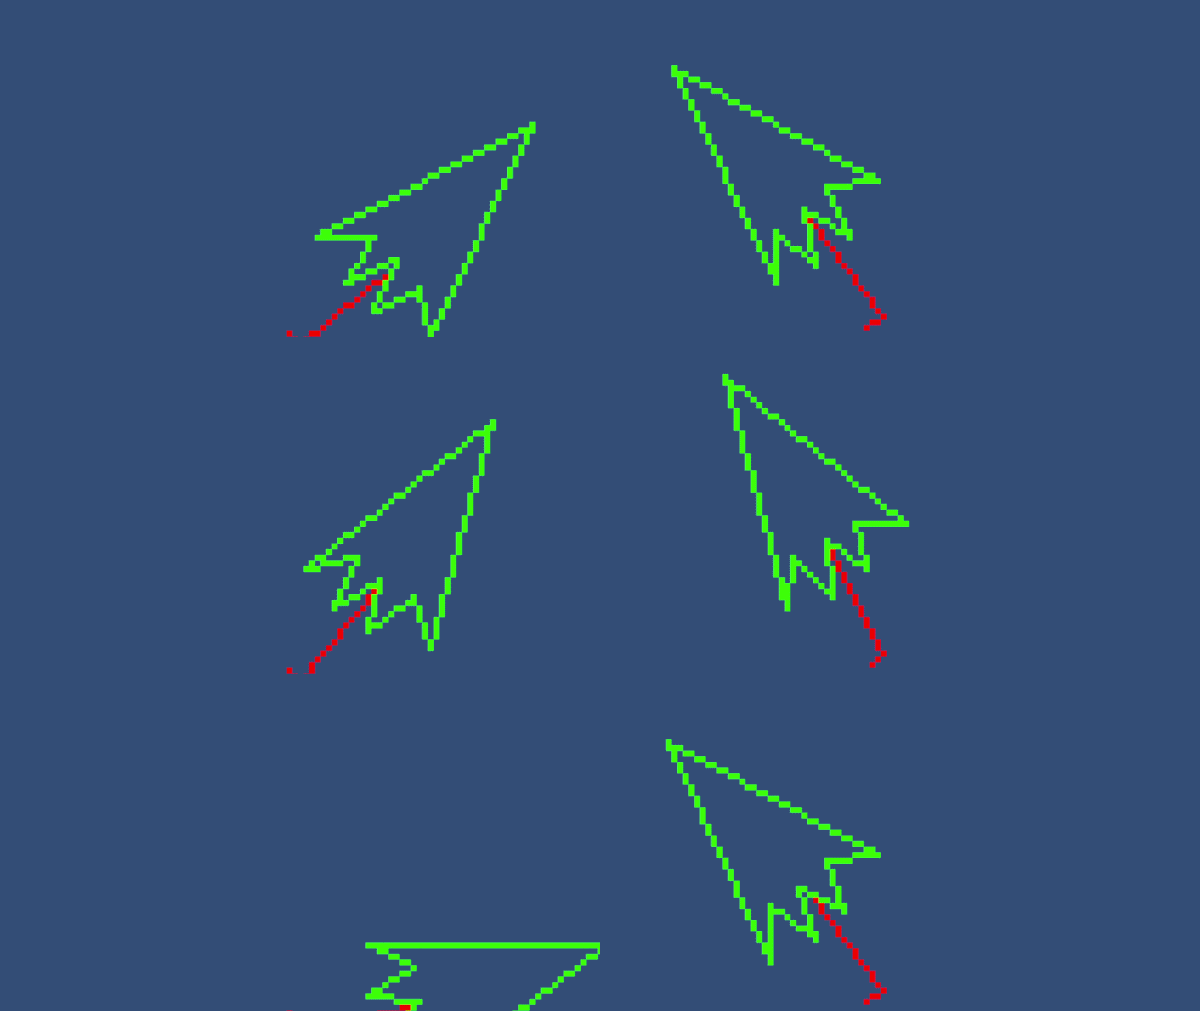
Rotation: Points are rotated around the pivot, but lines stay pixel-perfect.
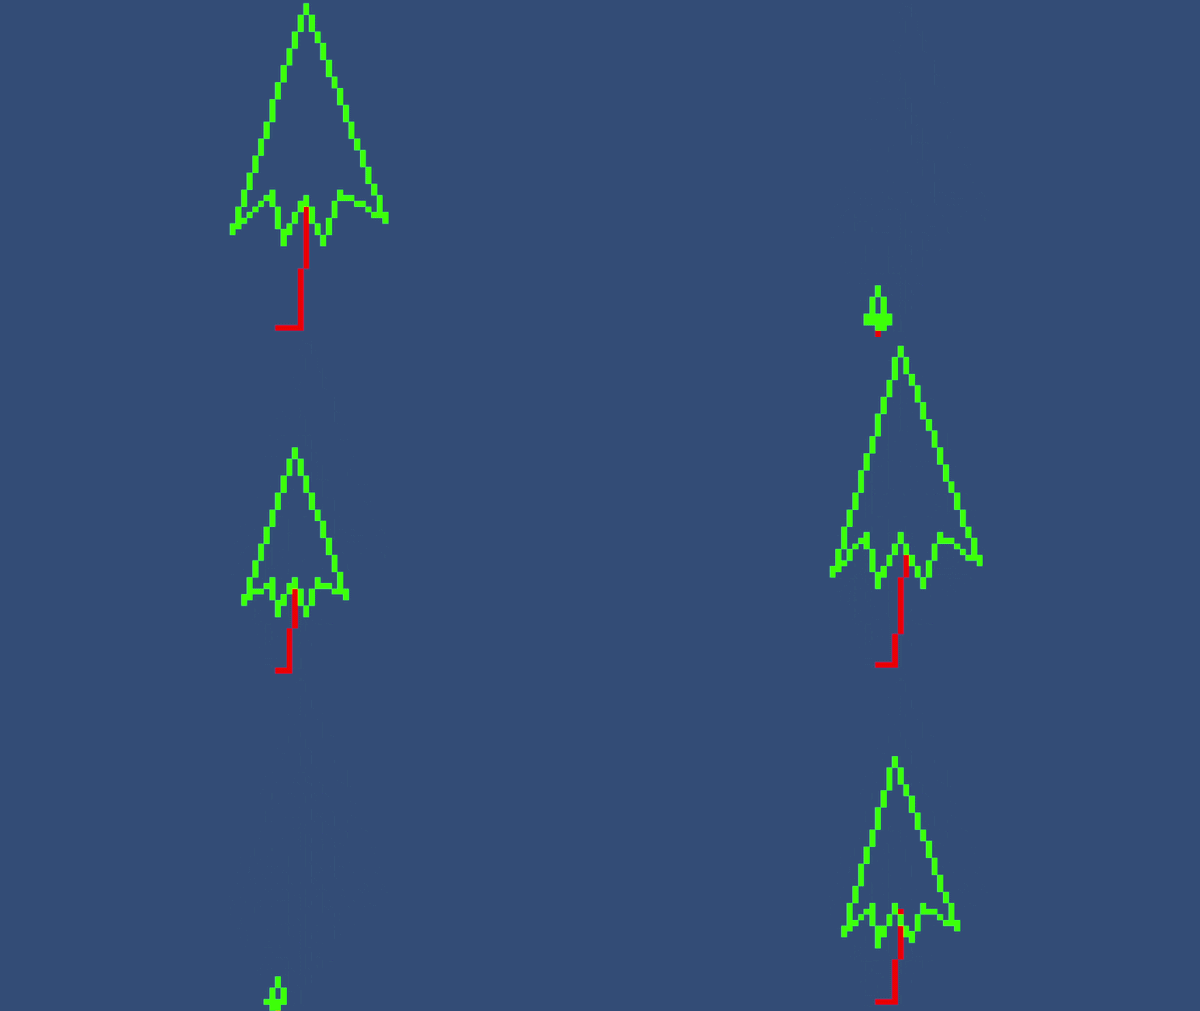
Scale: Affects the position of the points, not the pixel size of the line.
Looping
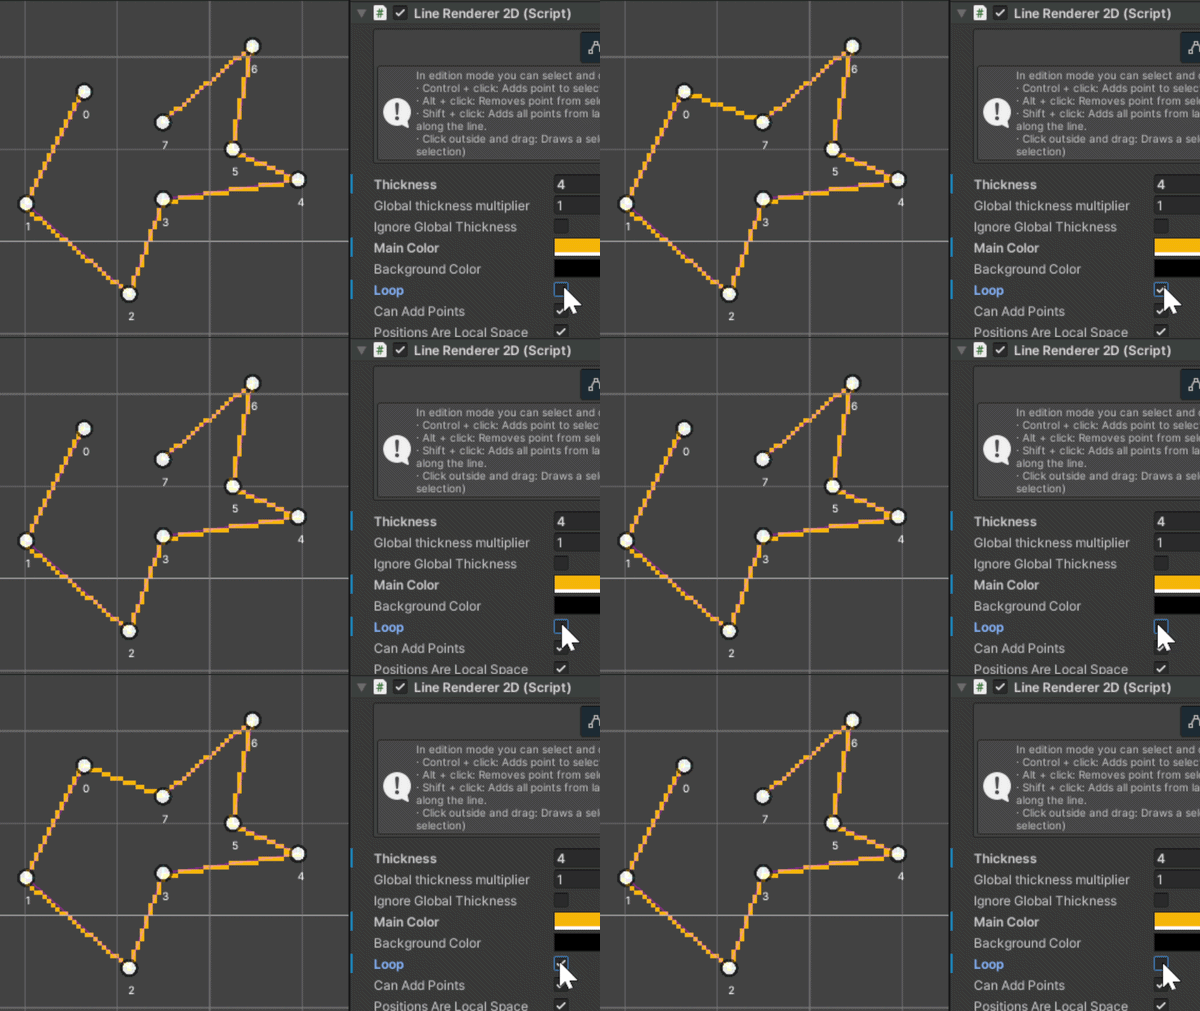
First and last points of the line strip can be automatically connected.
Thickness
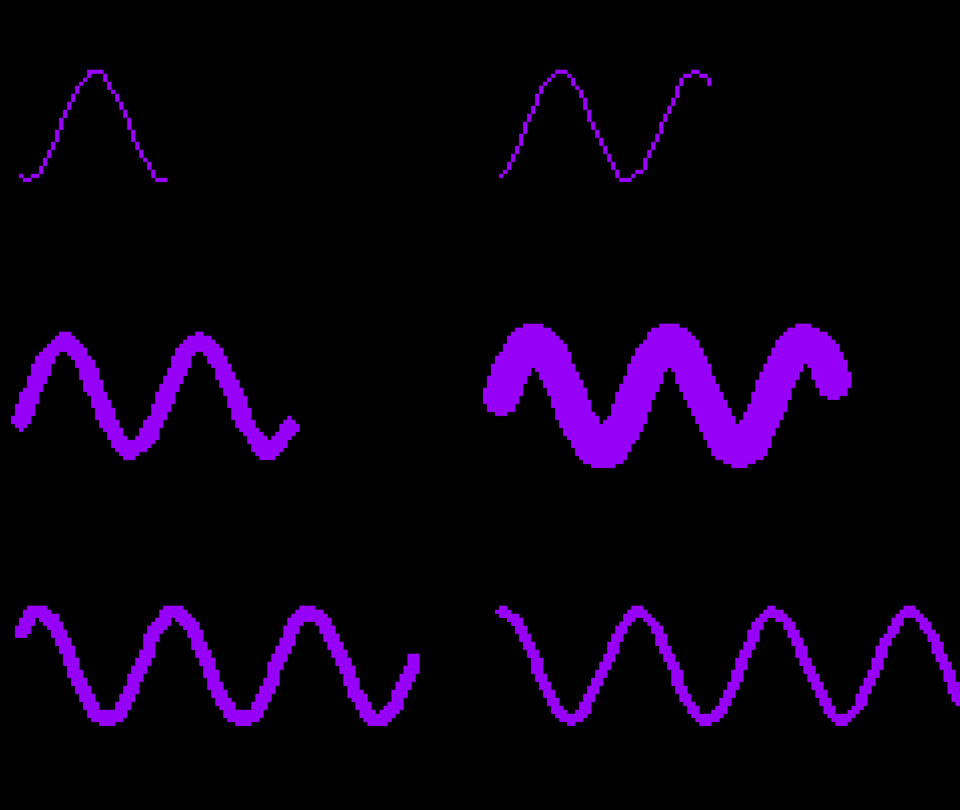
Lines can be fatter while still being pixel-perfect..
Reduced pixel vibration when moving the camera

The camera's imaginary grid where the line is drawn does not exactly match the screen's grid, and the position of each point in the line does not coincide with the center of each cell in that grid either. That produces imprecisions when either points change their position or the camera moves.

Adjusting each point's position before drawing corrects these imprecisions and allows lines to move smoothly, regardless of their thickness.
Line pixel size can behave in 2 different ways

It can be constant on the screen, regardless of the camera’s orthographic size.

Or it can adapt to the camera’s orthographic size.
Global lince pixel size
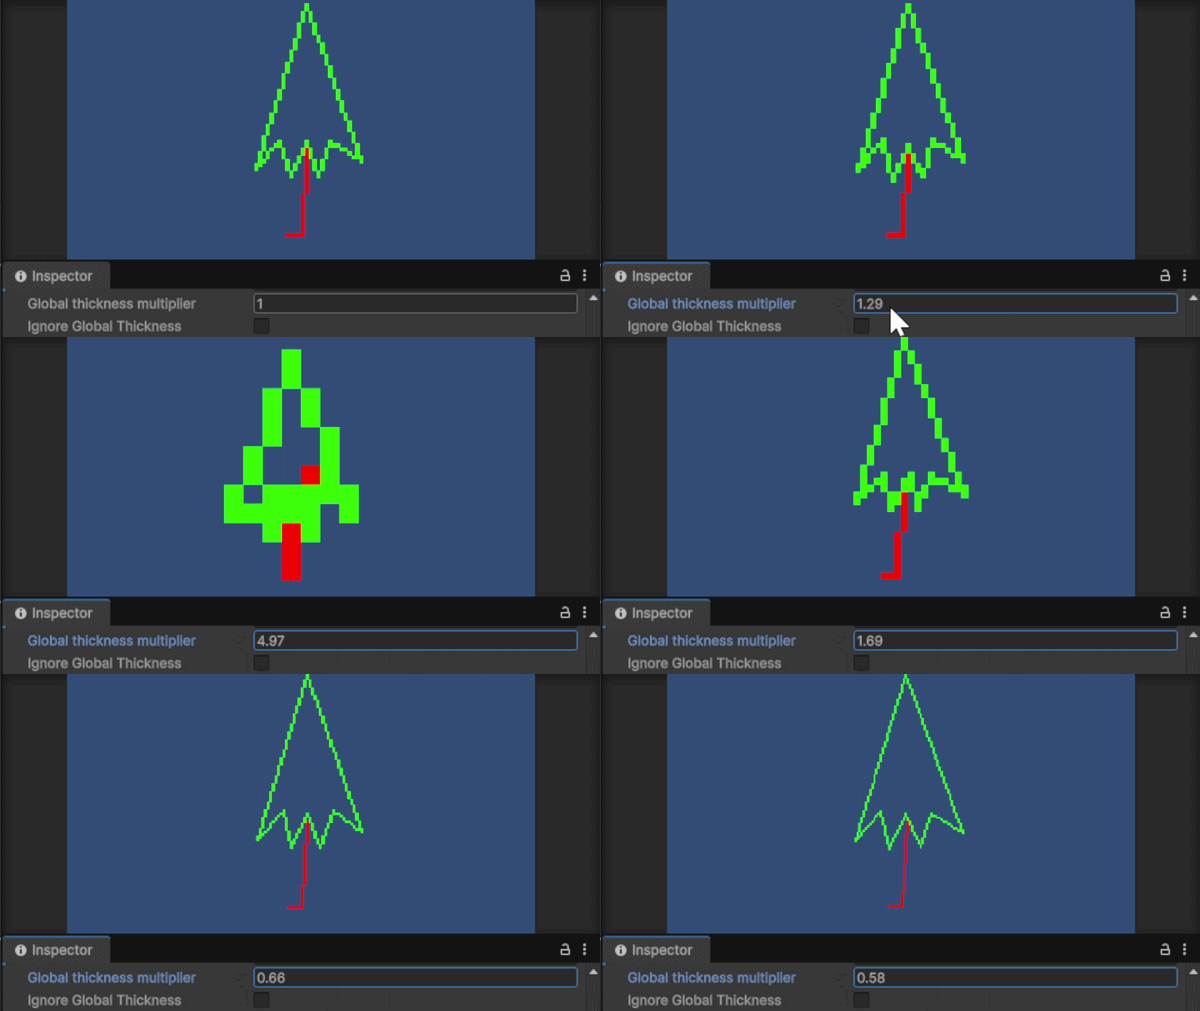
A global multiplier can be applied to the pixel size of all lines at the same time. Some lines can ignore the multiplier if necessary.
Visual Effects
Dotted lines

You can define the dot length and the spacing between dots, in pixels.

An offset can be applied to achieve interesting effects.

When dotted lines use textures, colors are applied to each dot, in order, no matter the dot length.
Textured lines

Define color sequences that will repeat along the entire line strip, starting at one endpoint.

Color sequences can be stored in textures.
Color gradients

Lines can be colored using a 2-color gradient whose length and starting position can be defined as desired. Texture and gradient colors are mixed.

Enable the adaptive gradient length if you want the color gradient to extend along the line regardless of the line's length.
Bounds offset

A line strip is defined by a set of points, but you can choose at which pixel the line starts and how many pixels will be drawn from there.

Optionally, changing the start point can also affect the offset of the other visual effects.
Overlay texture

A texture can be projected on the line. The position of the texture does not depend on the position of the line. This can be used to achieve the effect of a laser beam passing through the smoke of a room, for example.
Mimic
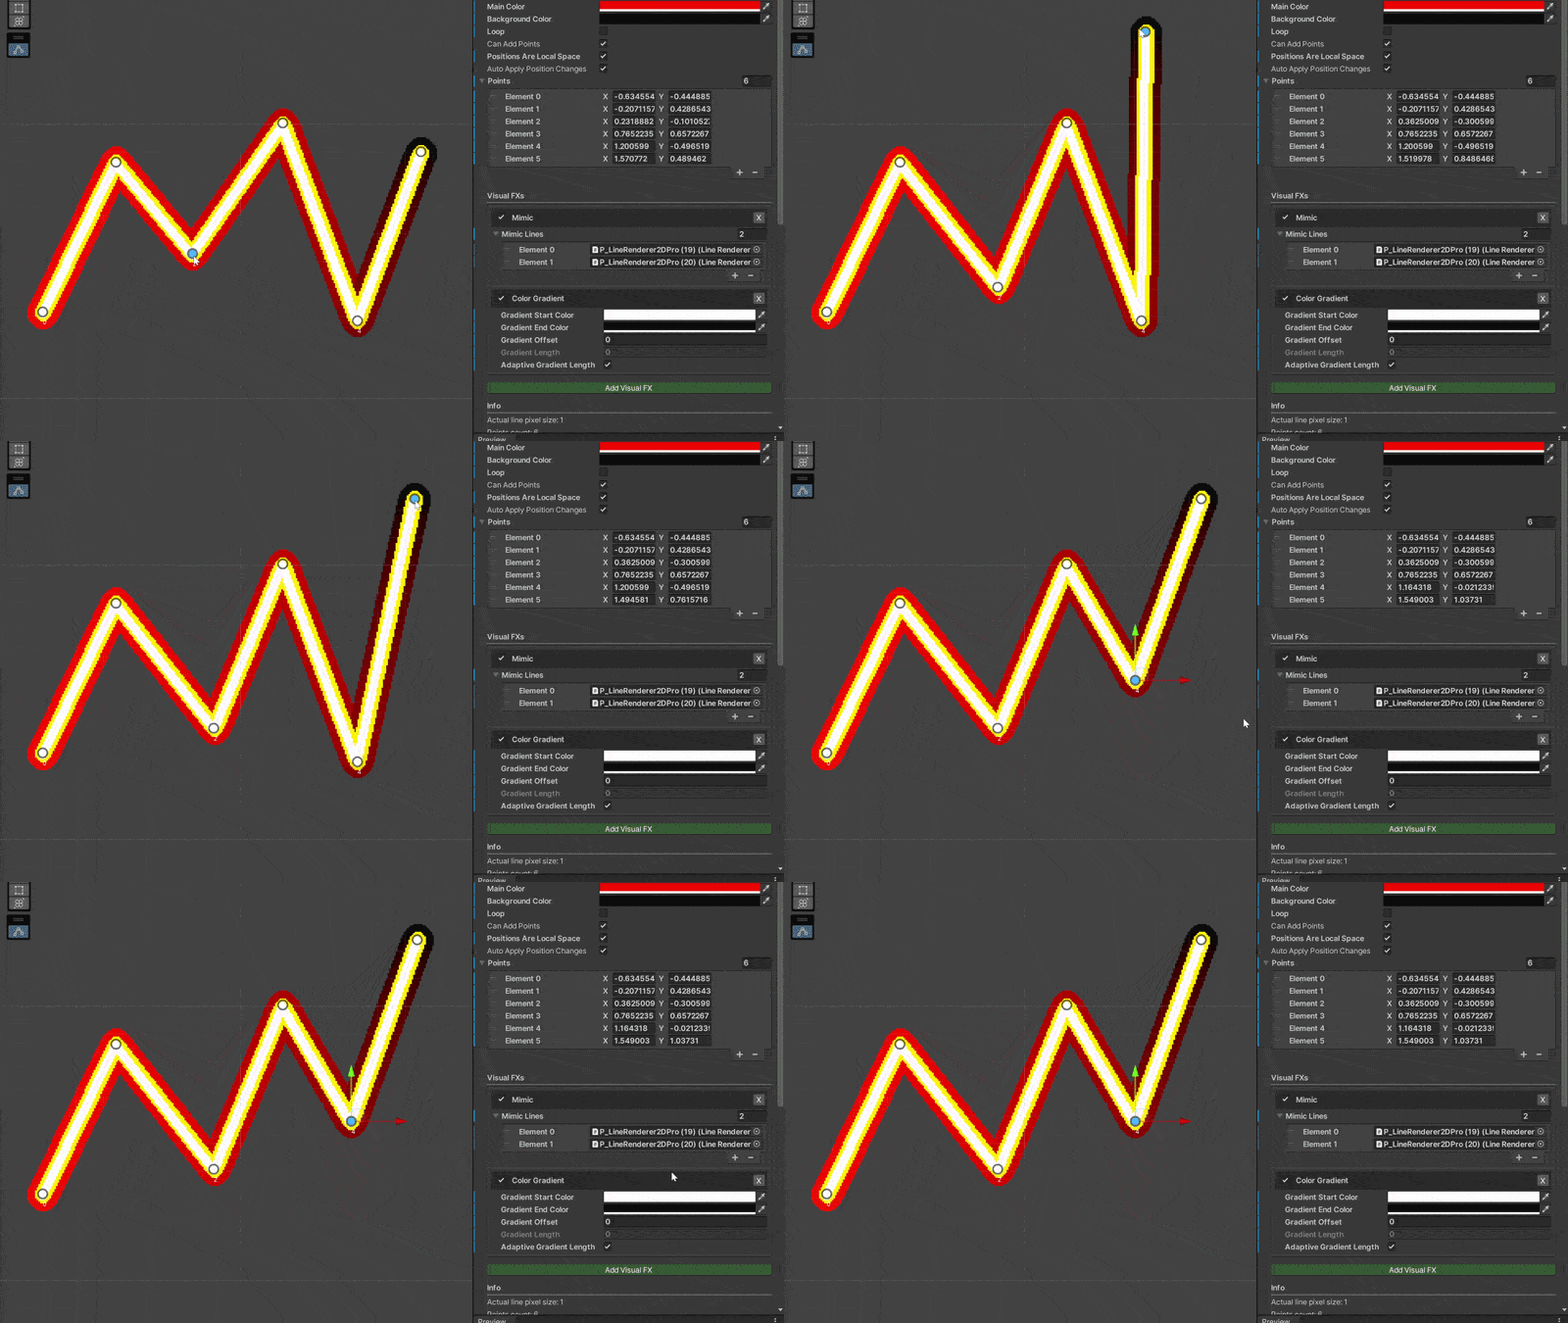
The topology of the line is copied into other line renderers, so when a point is moved the point in the other lines will follow. This allows you to easily achieve some effects like oulines (placing one line atop the other, adjusting the sorting layer, with different thickness). Only the local points' position (and count) is copied, lines can translate, rotate, etc. and use their own VFXs.
Effects are applied per pixel distance, not per actual distance

Starting at one endpoint of the line, color patterns progress one pixel at a time towards the other endpoint.
Usage
Installation
The first thing you will see once you add the package (if you are running a Unity version >= 2021.2) is the installation wizard. You only have to answer 2 questions: whether it is a clean installation and whether you want to use the new layout for visual FX.
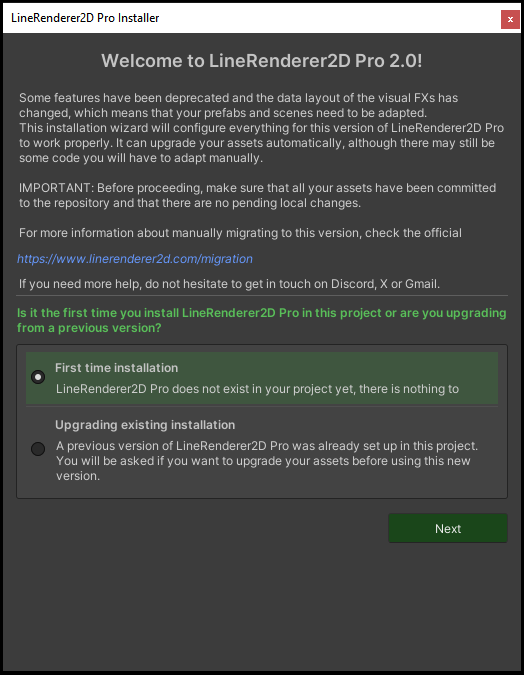
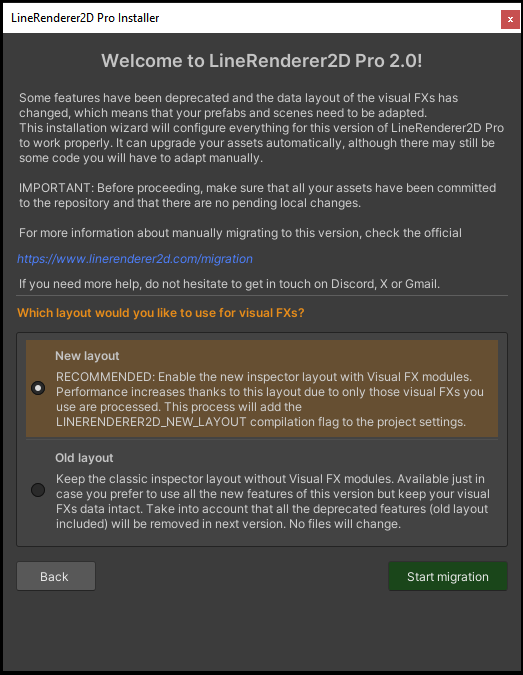
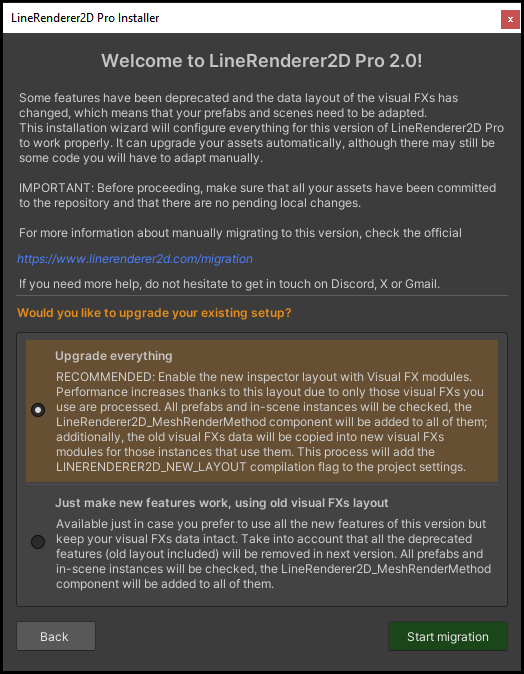
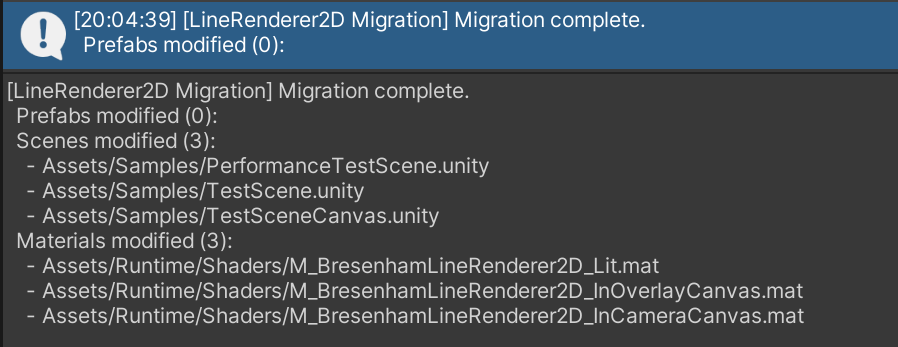
Once you push the Start migration button, the wizard will configure the project and upgrade the necessary assets (check the migration guide for more information). When the process is done, a message like the following will appear in the console, letting you know about all the edited assets.
The installer will create a local file as a flag for the completed installation (remember to add it to the repository).
You should verify several things:
- All the line renderer prefabs you created have a LineRenderer2D_MeshRenderMethod component in them. This is done automatically.
- The LinePixelSize property has the value that was stored previously in Thickness, in all line renderer prefabs.
- For those whose Reference Orthographic Size was greater than zero, you should now calculate an equivalent PPU and set it into their materials. This has to be done manually.
- If a line had some visual FX enabled, they should still be enabled in the material. This is done automatically.
- The render method of the materials should be Mesh. This is done automatically.
- If you chose to use the new layout: in each LineRenderer2D component, for each visual FX whose parameters were not at their default values there should be now the corresponding item in the visual FX list.
- If you upgraded an existing installation, check the materials and prefabs that have been overwritten by the package.
Then open and play the sample scenes to double check everything looks as expected.
This installation wizard was added for the sole purpose of making the transition to the new version easier for those who already owned LineRenderer2D Pro. It will be removed in future versions and all owners will be forced to upgrade.
Quick introduction
To create a line renderer in a scene you have several options: right click on scene hierarchy and select either 2D Object → Line Renderer 2D or UI → Line Renderer 2D, depending on the container in which the line will be created; drag one of the prefabs to the scene (be careful to pick the right one for each case); or instantiate a prefab in code.
To add new points to the end of the line strip in a script, call AddPoint. Call SetPointCount if you know the total amount in advance. Do not add / remove points to Points property.
To configure the maximum amount of points a line renderer can represent, change Maximum Amount Of Points in the material inspector. This cannot be modified at runtime. You should pick the lowest value possible to increase performance.
To update the position of the points, you can either enable Auto Apply Position Changes in the inspector, or call ApplyPointPositionChanges once per frame. Point positions are expressed in local-space (either world units or UI units).
To add a visual FX, press the Add Visual FX button in the inspector and choose the one you need. If the FX is disabled in the material, you will see a warning message and a button that lets you enable it. Remember that changing the material may affect other lines that use it too.
To update a visual FX, call GetVisualFx and change the instance’s fields. Changes will be visible in the next frame.
To enable masking, pick a Mask Interaction in the material.
Basic asset setup tips
As a general recommendation, all the prefabs and materials you create should be variants of the ones provided in the package (not mandatory though).
Remember that there is per-line-instance data (fields in components) and per-type-of-line data (fields in the material). You can have infinite lines with infinite field value combinations using the same material. Materials define how a type of line renders and which resources it requires.
Identify the line setups you need in your project and create prefabs and materials accordingly. For example, if there are several lines that use the Dotting VFX and another group of lines that use no VFX, you should create 2 prefab variants and their corresponding 2 material variants; one would have the Dotting VFX enabled and other would not. The same would apply for the maximum amount of points. The main goal is to only use the resources you really need (different shader versions are compiled depending on some parameters) and to have a common place that defines the common setup for all the lines in the project.
If almost all the lines in your project use a specific thickness, it is strongly recommended that you set it in the root prefab (do not use Global Thickness Multiplier as it is not serialized). The same applies to Pixels-Per-Unit (PPU) in the material.
Take into account that lines in UI canvas do not use materials the same way the other lines do. They store a copy of the asset, which means that any modification of the material copy will be discarded and replaced with the original values as soon as the prefab is instantiated. This inconvenience does not occur when you change a field of the LineRenderer2D component, only if you change the material. To configure this type of lines, you need to edit the original asset and then refresh the material copy in the instance. There is a button in the render method component next to the material field but the safest and quickest way to refresh all lines that use that material is reloading the scene.
Advanced
How to adapt lines when screen resolution changes?
When the screen resolution changes, lines adapt to the new situation (unless PPU is zero). If the screen used 1920x1080 and switched to 3840x2160 (x2), the pixel size of the lines will scale proportionally so line pixels will occupy the same physical area in the screen. This may be the desired behaviour in some cases, but you may want the pixels of the line to look thinner as resolution is bigger. To achieve that, change the GlobalLinePixelSizeMultiplier property of LineRenderer2D when the resolution changes, to a value that is the old resolution height divided by the new resolution height. In the previous example, it would be set to 0.5.
Why sometimes the position of the point does not coincide with where the pixel is drawn?
Sometimes you may notice that the position of a point lies outside of the pixel block and that it is the next pixel block the one that should be drawn instead. This is not a calculation error, it works like that by design and has to do with the mechanism the renderer uses to avoid disgusting pixel jittering when moving the camera or moving the line. That offset that you see only occurs when the line object, its parent or the camera have moved, and is never bigger than the width of a pixel. Imagine a fixed grid on the screen whose square cells have the same size as the pixels in the line (which depends on pixel size, PPU, etc.); the points of the line strip are not exactly at the center of each cell, they may be closer to the left side of the cell, or to the bottom-right corner. When you move the camera or the entire object, all points shift by the same amount, and some of them may cross into the next cell before others do, which would draw a different set of pixels for only one segment of the line strip; if movement continues, other points may cross at a different moment, and the result would be an unwanted trembling effect. The renderer accounts for this by moving all pixels at the same time, which means that some grid cells will "delay" being filled with the line colour until all points agree to make the jump.
Troubleshooting
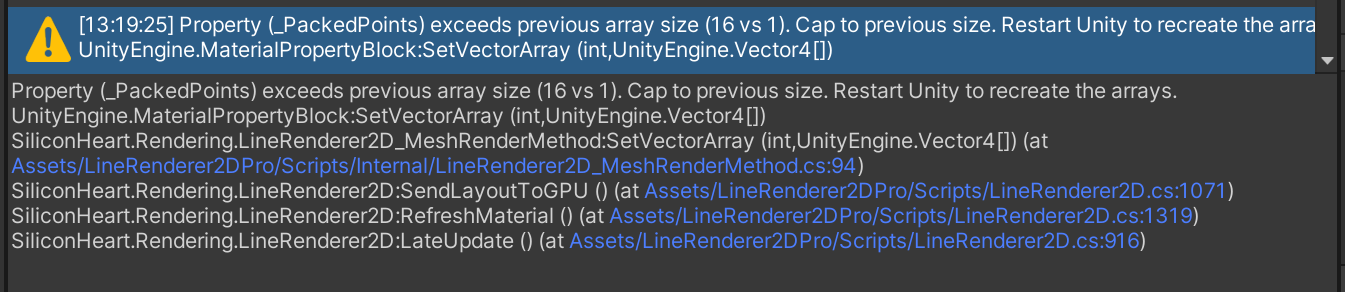
Cannot change material’s point array size
It may occur that the size of the point arrays used in the shader is set too soon. If that happens, the size cannot be changed unless the editor is restarted. Messages like the following will appear in the console:

Performance
The line renderer 2D is implemented with performance in mind. However, although “just drawing a line” looks very simple, take into account that the GPU has to do a lot of calculations per pixel. The amount of work to do to draw a line increases with its length, its thickness, the enabled visual FXs, whether the alpha of the background color is not zero, and whether lighting is enabled. Lines whose mesh bounds are out of the screen are culled.
An important thing to be aware of is that line renderers break draw-call batching, each line uses its own batch. This has a big impact on performance which can not be avoided due to how LineRenderer2D works.
As a reference (this may vary depending on your machine, OS, drivers, Unity version, etc.) here is a small benchmark. The test consisted in executing a build with a scene that only contained 700 copies of a 5-points 4-pixel-thick line strip.
| FPS | Type | Visual FXs? |
|---|---|---|
| 85 | Mesh | None |
| 62 | Canvas Overlay | None |
| 72 | Mesh | All |
| 51 | Canvas Overlay | All |
Optimization tips
Apart from the built-ín techniques, LineRenderer2D Pro provides some ways to fine-tune its features to achieve the best performance for every project.
Disabling auto-update
If the position of the points does not change every frame, you should disable the Auto Apply Position Changes option and call ApplyPointPositionChanges manually.
Keep background color transparent
Fully transparent pixels will be discarded, accelerating the drawing process. You can use a different color for debugging purposes.
Do not set any property if its value has not changed
Properties like Thickness, Start Point or Gradient Offset are all sent to the GPU in LateUpdate when any of them is set (so you can change them many times in the same frame without the cost of sending the values). You should check if the value to be set is the same that is already stored, so the line or the visual FX is not “marked as dirty”. This will avoid sending values when there is nothing to update.
Disable lighting
If the line should not be affected by lights, change the Is Lit flag in the material to save some GPU power.
Do not use more points than you need
Try to reduce the amount of points that form the line strip as much as possible, sometimes it looks just as good using fewer points. Take a look at the Can Add Points property.
Disable features
Every line visual FX can be disabled by unchecking its corresponding checkbox in the material. If none of the line instances are going to use a visual FX, remove it from the component and disable it in the material; different shader variants are compiled for the different combinations. If a line will use it intermittently, disable and enable the visual FX in the component.
Choosing maximum points
You can choose the size of the buffers that will be sent to and stored in the GPU, depending on the amount of points expected to form the line strip. The lower the maximum value, the better the performance. There is a fixed set of values for the Maximum Amount of Points property: 2, 32, 128 and Unlimited. The latter is by far more expensive than the others. Take into account that the value is stored in the material which means changing it in one line renderer will affect every line renderer that uses the same material.
Use a sprite if the line never moves
This may sound too obvious but, if a line is not expected to move ever, just manually draw it and use a sprite instead of the line renderer.